etching
Briefly, etching is a process whereby, traditionally, oil based ink is captured in grooves on a metal plate and then pressed onto wet paper to leave an image; the water aids in the transference of the ink from the plate.I use nitric acid to prepare the plate. I first cover a syrupy brown liquid wax over the etching plate surface; after the wax hardens I scratch lines into it to expose the metal plate underneath. The nitric acid eats into the exposed metal to leave a groove to capture the ink.
.JPG?timestamp=1237882825227)
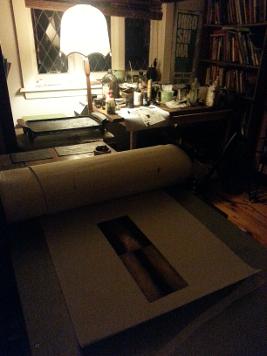
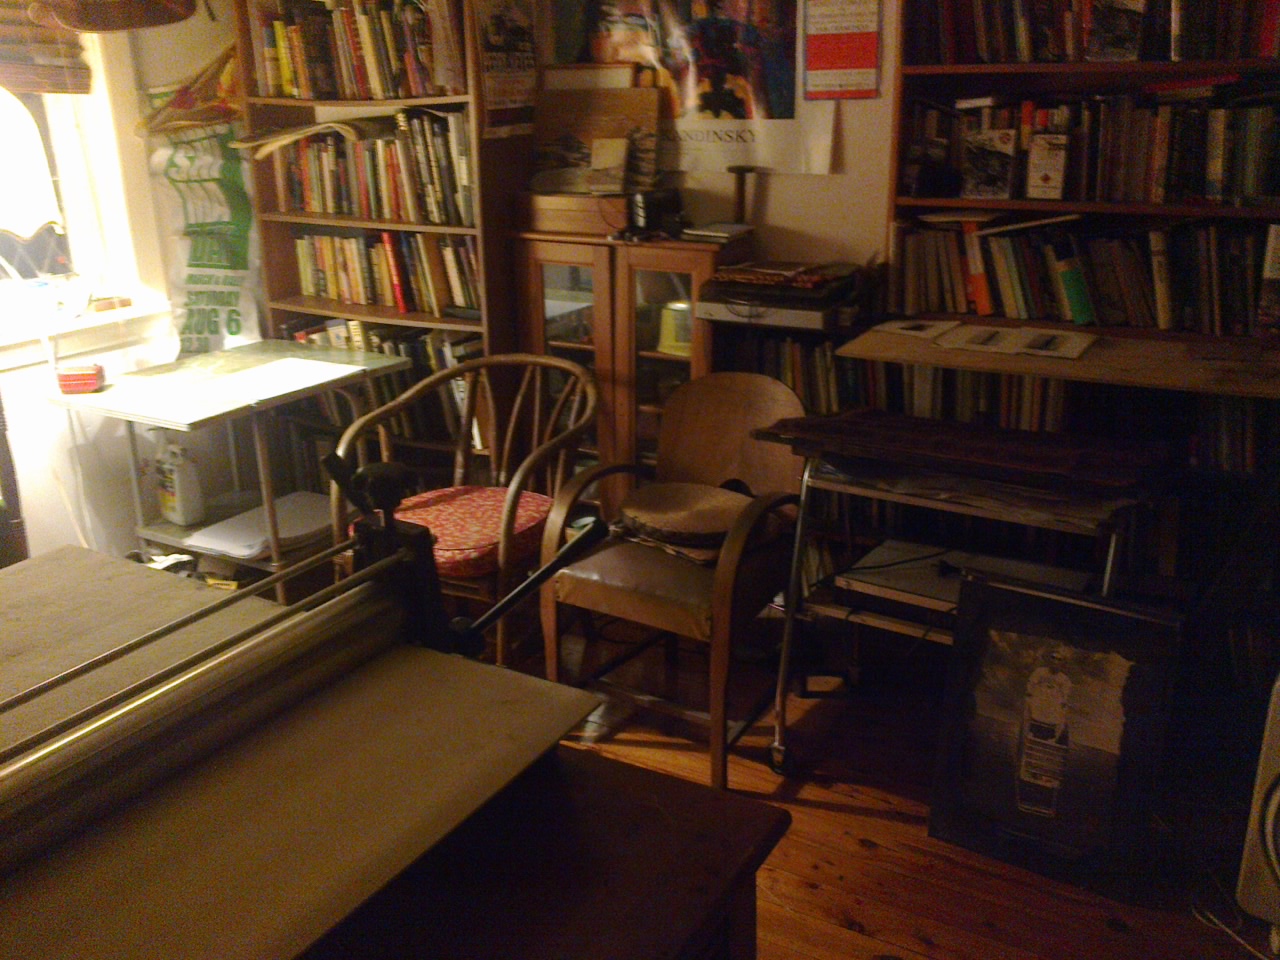
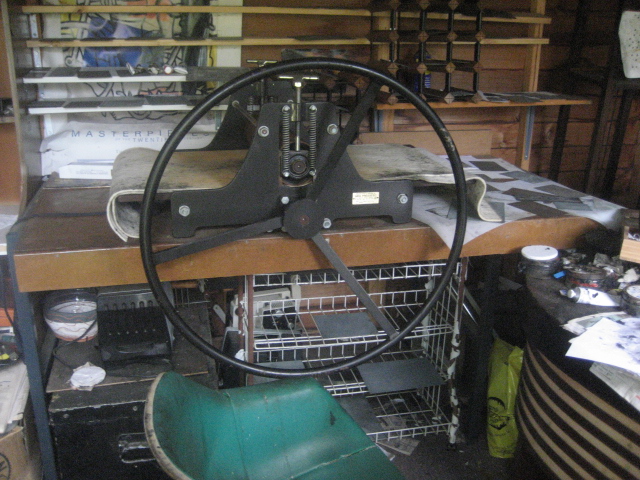
the artist's etching press
FURTHER REMARKS ON THE ETCHING PROCESS
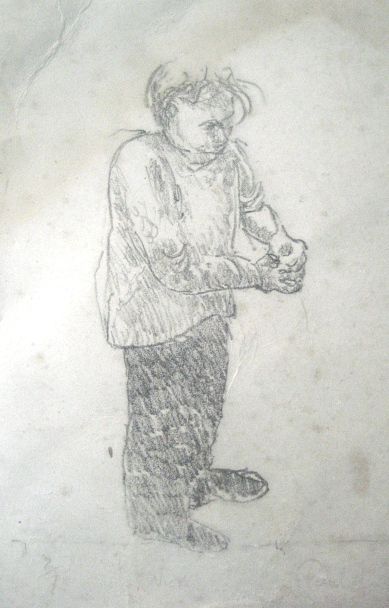
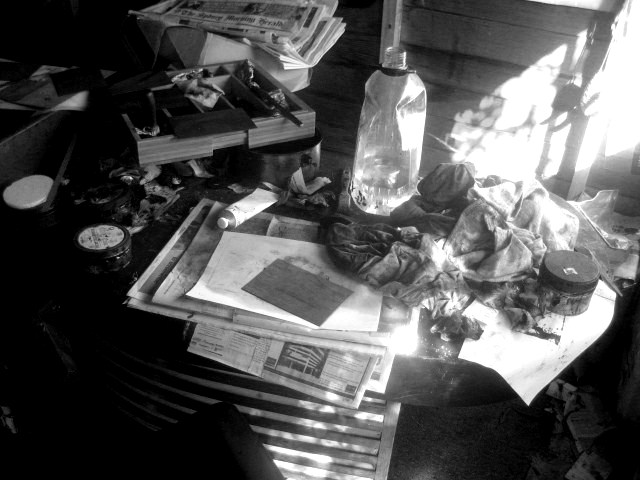
Lithograph of the artist at work by 'artist unknown' (but he did attend the Willoughby Art Centre printmaking evening classes). The artist's work table which was obtained off a generous American woman living in Sydney and who knew the great Beat poet Alan Ginsberg.
________________________________________________________________________________________________________________
Disclaimer: THE FOLLOWING INFORMATION IS ONLY A VERY GENERAL GUIDE & PLEASE REFER TO MORE EXPERT GUIDELINES THAT CAN BE FOUND. I AM JUST 'THINKING OUT LOUD' AS TO SOME BASIC INTRODUCTORY STARTING POINTS IN THE MATTER OF ETCHING FOR ONE TO PERUSE & TO MAYBE ABSORB WITH WHAT ONE ALREADY KNOWS WHICH MAYBE MUCH MORE THAN WHAT IS EXPRESSED HERE. Results may not work out as hoped if only relying on what is written below. Also SAFETY is also an important issue so always wear gloves, masks etc especially if inexperienced and still getting used to the various chemicals, inks etc. Safety is an ongoing issue with etching, printmaking etc these days.
________________________________________________________________________________________________________________
ferric chloride
Ferric chloride is another liquid substance that performs the same role as nitric acid. It is meant to be a safer technique. However, much more ferric chloride is needed in a typical bath to produce the necessary bite. Although far more dangerous and toxic I prefer nitric acid as I am more familiar with it. Yet, of late, it has become more difficult to acquire nitric acid thus I have to admit that whenever etching copper I now use ferric chloride (along with a small amount of added citric acid - as found in lemons, oranges etc so I can etch face up although I have read lately that issues of etching face up may not really be an issue). In any case, ferric chloride is much safer than nitric acid.
Aquatinting - however, I have mainly used nitric acid for line work in regards to copperplates and have discovered that ferric chloride is more useful than nitric acid as my efforts to use nitric acid for aquatinting have not been really successful.
_______________________________________________________________________________________________________
'HOME MADE BREW'. [This section have thought to delete as have been unsuccessful but on the other hand someone far more technically competent than myself may find of interest.
I am presently experimenting with trying to make my own ferric chloride as in Australia it is expensive to purchase and the basic formula is to dissolve 20 grams of steel wool or iron nails in 1/10th a litre of hydrochloric acid along with an equivalent amount of water and this may take overnight or longer. Then adding 2/10s of a litre of hydrogen peroxide to what is now ferric chlorine and the liquid will change from green to brown which will then be ferric chloride. Yet may wish to do some research to get better exact details.
I have also read that hydrochloric acid mixed with water could etch zinc.
It is strongly recommended that one do some research via articles or videos to seek out such alternatives.
___________________________________________________________________________________
nitric acid/water ratios for copper and zinc
-
Usually I use up 1 part nitric acid with 3.5 parts water to etch into copper. (However, these days I tend towards 3 parts water to one part nitric acid. Yet, one can experiment as it should also be noted that temperature also plays a role e.g. can be a difference between etching in summer or winter. As sometimes I am surprised to find 1 to 3 can be too strong. Then again, one may go so far as to use a 1 to 2 ratio and of late have settled on a 1 to 3 ratio as a starting point._______________________________________________________________________________Please note: one must always pour nitric acid into water and not the other way around which can be dangerous and have read can even cause an explosion._______________________________________________________________________________Also etching times differ between doing line etching and aquatint and can vary depending on the local surroundings. One should do a test strip going from from a few minutes to up to an hour but one can refer to other websites etc. As some websites even say doing 30 seconds etc. I tend to leave an etching plate for a long time and with an aquatint I may actually lay down two or three 'coats' and even do crosshatching etc. Also working with nitric acid, copper sulphate+salt - at different strengths - and ferric chloride can all lead to various different times due to different chemical reactions on zinc or copper (of course, copper cannot work with copper sulphate+salt combination and never tried zinc with ferric chloride).Recently, etching times for a black aquatint in copper sulphate solution (50 ml copper sulphate with 50 ml table salt in 500 ml of warm/hot water) has been up to 40 minutes with rosin finely grounded.(I have read etching times from only a few minutes to approximately 20 minutes but this has not proven satisfactory for me).I will often re-bite the aquatint - taking of the first layer of rosin with methylated spirits to then recover the etching plate with rosin. Nitric acid - as an alternative to copper sulphate - seems to work much better with zinc for aquatints than with copper (but, of course, always worth a try...).Thus always do a test strip as variant times occur due to local circumstances._______________________________________________________________________________
-
While with zinc - which is a softer metal – I can use anything from say 1 part nitric acid to 8,10 or 12 parts water to create the grooves. I even use 6 nitric parts acid to water.
-
The weaker acid solution I use, softer lines often result while taking longer to bite; while a strong acid rapidly eats into the metal which can lead to a harsh result. Lately I have reverted to using zinc as I find it to be a more manageable metal to work with.Ferric ChlorideIf interested in the process an etching technique book should be referred too to see what ratios it suggests for nitric acid; while with ferric chloride it is presumed half part water with half part ferric chloride is the usual practice although this advice maybe needed to be updated as apparently what is purchased at an art outlet is already mixed ready to use. The above ratios are my own and may not be reliable as I now just use straight from the bottle but one should do some tests e.g. (1) half water/ half ferric chloride & (2) ferric chloride alone. Water temperature also plays a part and on a hot day the acid will bite quicker. When using ferric chloride I often put the tray with the plate in a larger one filled with hot water to accelerate the bite.Alternative to ferric chloride. (Merely a suggestion to be explored as has proven not to be satisfactory).For a cheaper solution: try 2 parts hydrogen peroxide with 1 part hydrochloric acid. (Always pour the hydrochloric acid into the hydrogen peroxide mix and never the other way around). I have started experimenting with this mix but although looks promising nothing definitive as yet. However, i think it is worth a try.I have even tried mixing 200 ml hydrogen peroxide after first mixing 100 ml hydrochloric acid + 100 ml water with 20 grams steel wool mixed in and dissolving over days to form a greenish looking liquid known as ferric chlorine. Mixed with oxygen in the air over more days or mixing in the hydrogen peroxide in very slowly ( as can cause a violent reaction) is meant to create ferric chloride. This did not seem to happen to me on the first attempt ( yet to try again) but the solution that i did have which had a green tinge ( instead of the expected brown) did seem to etch lines into copper after about an hour.____________________________________________________(STOP PRESS: Bitumen from a hardware store as an alternative to traditional hard ground as it too is becoming expensive. Although others may suggest floor polish. Although may be needed to be diluted for sugarlift work. Thus some traditional liquid hard ground can still be useful to have for this art method).____________________________________________________SAFE ETCHING - Copper Sulphate. A few general comments as a starting point for your own direct experience experimentation.
-
Recently, I have come across copper sulphate which with table salt can be mixed with water to bite zinc plates (it is not useful to use with copper plates which can be served by ferric chloride). It is a much safer option than nitric acid.
- A typical mix can be something as little as 50 grams of copper sulphate and 50 grams of salt (sodium chloride) mixed with about one litre of water; although these days I prefer a 100 gram/100 gram mix of these two basic ingredients with one litre of water for a stronger more assured bite.
- Some recipes also suggest including 25 gram of Sodium Bisulphate.
- A good bite can be obtained after only about ten minutes although I like to leave a plate in a prepared bath for much longer and recently I have tried between 15 and 20 minutes and even applied a second aquatint to assure a strong black ( or sepia).
- it is strongly suggested that a test strip be done for local conditions as I suspect I obtain variable results which at times can be very frustrating due to daily temperatures/seasons of the year. I can't help but notice that with everyone I have looked at on this matter makes different suggestions as to times, recipes etc.
- I tend to use warm to hot water when mixing the ingredients. Using warm water can also accelerate the process. Copper sulphate can be purchased at a gardening shop, nursery or hardware. It also comes under the name of 'bluestone.'
- copper sulphate can also be used for aluminium involving the same recipe as zinc although it is suggested to use the sodium bisulphate. It is also said that aluminium has a texture that can create a natural light to medium tone aquatint which can result without the use of applying a rosin. However, I have very limited experience with aluminium.
- LEAVING A PLATE IN AN ETCHING BATH CAN LEAD TO UNDERCUTTING AND THUS TO A LIGHTER TONE RESULT. TESTING MAY NEED TO BE DONE IF ACHIEVING POOR RESULTS IF LEAVING THE PLATE IN FOR TOO LONG. IT IS GENERALLY REGARDED THAT ONE HOUR CAN BE THE MAXIMUM WITH COPPER SULPHATE ALTHOUGH THIS WOULD PROBABLY BE WITH A WEAK SOLUTION.
the 'plasticity' of metal
It is interesting how what appears solid re: metal becomes an ‘organic substance’ in the hands of a printmaker. If I am not happy with the result I can place the metal back in the bath to make particular areas darker or I can use a burnishing tool to rub back areas of the plate to make that region lighter.
Often I spend ‘forever’ on a plate – biting and burnishing it - until I obtain the desired result. I can show you a plate which I have spent many days – or much, much longer - working on to get what I wanted or another plate that has simply taken me a couple of hours to reach a satisfactory result.
Often the subject matter can play a role in what needs to be done – or perhaps I may simply be after a certain ‘mood’. One should not forget that art is often a reflection of human emotion, it is emotion (and usually an ‘edgy’ one at that) that often motivates one to spend a long period of time on one’s own and for one’s own sense of personal resolution to produce a work of art.
I should also add that when I touch a plate with a needle I feel that I am inscribing into eternity.
aquatint
Another technique that I have returned to recently is aquatint whereby a fine rosin powder is sprinkled over the plate. It is then heated so the powder melts onto the plate while at the same time there is still a tiny space in between every powder grain. The plate is placed in an acid bath to produce an overall black tone as the acid eats into each tiny space of exposed metal. You can burnish, bite into some areas or wax over other parts to leave ‘as is’ until the final state is reached.
the 'eternal form'
At the risk of sounding Neo-Platonic: no matter what technique is used the plate often guides or tells you when the Final Form has been arrived at and may often suggest to you what technique should be used to reach or even to divert away from what you have originally envisaged in your mind.
plastic plates
Lately, I have also simply used plastic plates to produce several images. Although drypoint - re: scratching into the plastic - is the most common approach with plastic by sanding and melting the plastic some intriguing results can be made. Unfortunately, with plastic it seems to be a material where only a small number of prints can be produced before it wears right down. Plastic plates are usually used in schools as a safe option to introduce students to etching. No acid is required with plastic.
inking up and then wiping the plate; turning the wheel of the press; print produced.
the etching process
At the risk of being repetitive here below is a step-by-step look at the very basics of the etching process:
STEP 1: With the etching plate a brown wax is applied onto it either using a liquid form or melting it on over a hot plate. When it is dry a needle is used to scratch out an image.
STEP 2: The idea is to expose the metal underneath so when the plate is placed in an acid bath it can eat into the metal to form grooves.
STEP 3: When this has been achieved the wax is taken off with turpentine. With the plate cleaned by then degreasing it with ajax white powder and water or with soya sauce ( you know the plate is degreased when you put water on it and it flows freely rather than forming many ball droplets) the ink is then applied over the whole of the plate usually with a flat piece of rubber. Then the ink is scrubbed off first using tarlatan and then newspaper so the ink that remains is in the groove or within the aquatint.
STEP 4: The plate is placed onto the press with an ordinary paper sheet underneath which can be used to line up correctly the plate with the actual etching paper so they are both correctly positioned. (This is called registering and helps to obtain an even margin around the image).
Thus the plate is covered with a piece of moist etching paper that has been dipped in a water bath then covered with a towel to soak out the residue water. The moisture in the paper helps with the transfer of ink.
The plate with paper on top is pressed through the press which consists of two rollers that place enormous pressure onto the plate so the ink squeezes out onto the paper.
There are white felt blankets between the press and plate that help with the rolling. Also all four edges have been evenly filed back to create 450 angled edges; the slopes help the plate to roll through the press. (This filing is called bevelling the edges).
The paper is taken off the plate to reveal an image. The plate can be re-inked to repeat the printing process but at the end of the sessionI thoroughly clean it.
It should also be mentioned that before the plate is even scratched into it is usally cleaned with a basic cleaning powder so it will take on the hard ground.
The plate can also be cleaned again befor inking up.
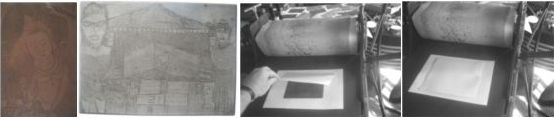
A copper plate (Manjustri); a zinc plate ( Dancing puppets Kings Cross Festival); the last two photographs reveal placing etching paper over the inked plate for pressing. The felt blanket is then placed down to move the heavy duty steel bed through the press.
Drypoint - it should be noted that the needle can be used to directly scratch into the plate without any wax on it and this is called ‘dry point’.
Aquatint is when a fine powder rosin powder is melted over the plate that allows for an area of dark to black tone to be produced.
Sugarlift is a substance that looks like ink and has sugar inside it. The sugarlift is usually brushed onto the plate and then it is dipped into luke-warm water. The sugar particles expand & lift off the plate so the positive space that is formed can be exposed to the acid.
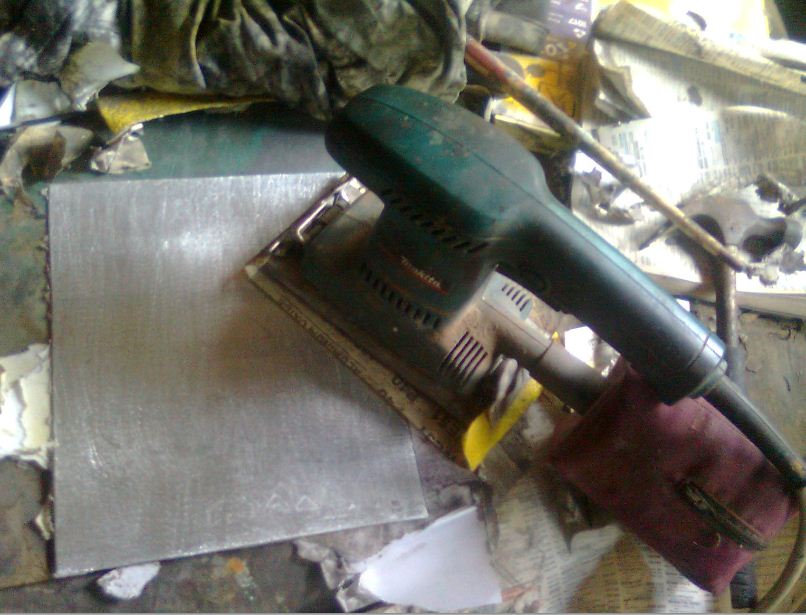
It is possible to combine drypoint, aquatint and sugarlift on the same plate and it is up to the imagination of the printmaker to use any other procedure to leave marks suitable for his/her artistic purposes. These are the more conventional ways of preparing an image on a plate and a printmaker can try all sorts of things to leave a mark on a plate. For instance, I have often got my sander out to create some interesting background effects etc.
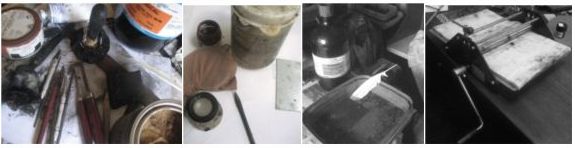
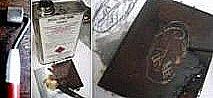
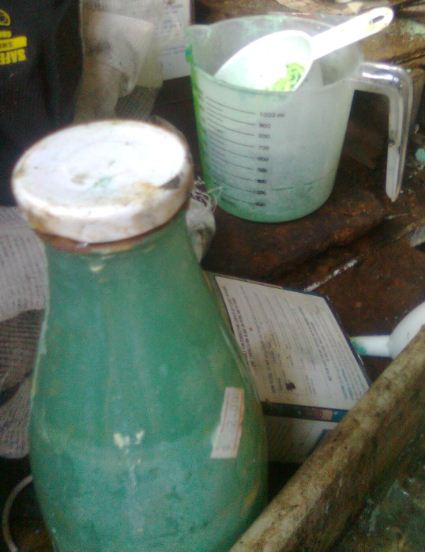
In the first image are a variety of etching needles, charbonnel ink, a tube of a cream coloured easy wipe gel which is mixed into the ink on the plate to make it much easier to wipe off, a file, spatula, nitric acid bottle, an ink dabber, a black wiping rubber, gauze known as tarlatan), nitric acid bottle, brown powder rosin.
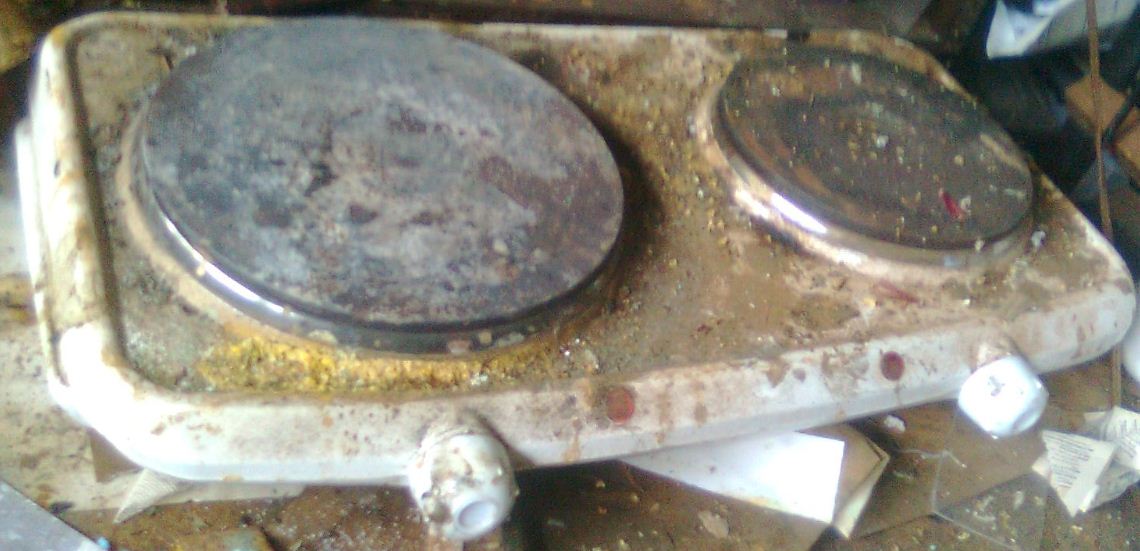
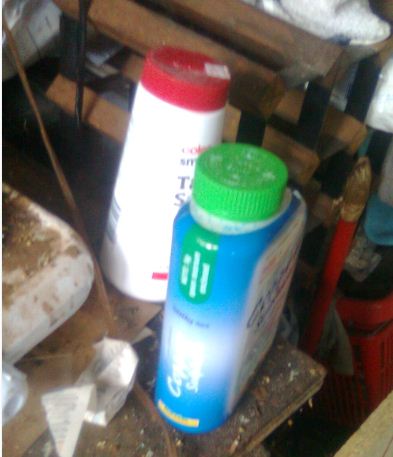
The brown powder rosin is sprinkled onto the plate using a sieve covered in stocking as can be seen in the second image (you place some powder in the sieve with a teaspoon and then slightly shake and tap the sieve with your finger as the powder spreads over the plate. When finished the powdered plate is placed over a slow flame such as on a gas stove so it melts. The light coloured powder goes a much darker hue when it sufficiently melts. (There are proper heating mechanisms etc that can be purchased - as well as making a large aquatint box – but what is shown here are available ‘home methods’ etc). In the second photo is also a magnifier that can be used to see if the grooves have been bitten to a sufficient depth; as well a small sugarlift bottle. The plastic pourer contains the acid that has been mixed with water which is then placed into the acid bath tray.
The tool with the flat curved top in the second photo is a burnisher which is used to rub down the plate to make grooves and other plate areas lighter. (A groove or area can be made darker by further acid biting ).
a closer view of burnisher
The third image has a plate in an acid bath and a nitric bottle beside it. The feather is used to wipe away bubbles that form as the nitric acid bites into the metal. The bubbles have to be wiped away so the acid can still bite the metal.
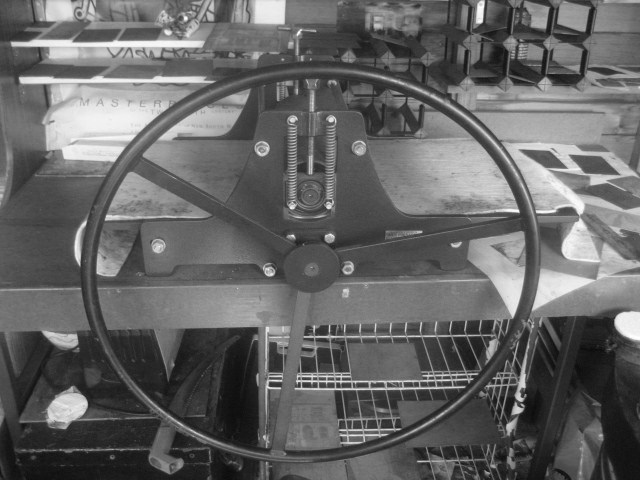
Lastly, a small portable etching press. The pressure produced by a small press is not as strong but is handy to have if working on a small plates and although this is stating the obvious – it can be taken anywhere.
For me the burnisher and the etching needle of which there are a variety of types of both these etching tools are the mainstays of this art form.
___________________________________________________________________________________
Melbourne Etching Supplies - although etching supplies are available in most art and art college shops throughout Australia it is difficult to find everything a printmaker needs in the one place; however, this major establishment in Fitzroy, Melbourne has just about everything from presses, needles, papers, nitric acid, etcetera...I don't know their exact URL address but simply type in Melbourne Etching Supplies in SEARCH (which is what I always do) and their website link should just simply come up on the websites page. In any case if there is any problem here is a contact:
It is possible to make orders for supplies to be mailed to you in case your local art shop cannot help you out with etching stuff.
PARKERS ART SUPPLIES
I should also mention PARKERS ART SUPPLIES (look for them on your search engine) in the ROCKS in Sydney (at Cambridge Street which is off the road leading up to Observatory Hill just before the huge concrete arch). They now have a varied range of printmaking supplies including papers, inks, tools, ferric chloride and etching presses. For Sydneysiders it is worth checking out. Open Mon-Sat and contact them for exact opening hours. Its proven more convenient to purchase from them rather than deal with ordering from Melbourne.
ART on KING in Newtown in King Street has some handy etching supplies although a much smaller range but also worth having a look if in the area.
__________________________________________________________________________
The following Museum of Modern Art (MOMA) URL has a good animation display of the basic etching printmaking process and is worth a look.
http://www.moma.org/interactives/projects/2001/whatisaprint/flash.html
The following printmaking website of Crown Point Press based in San Fransisco may also be useful to the viewer:
http://www.crownpoint.com/printmaking
_______________________________________________________________________________________________
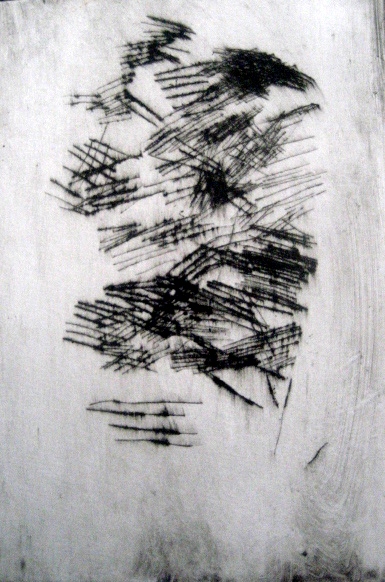 Drypoint marks
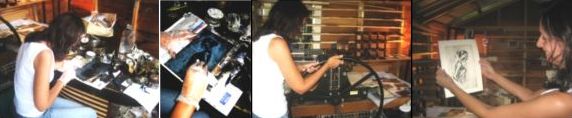
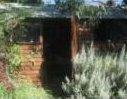
Firstly, the small cedar shed in the artist's backyard that serves as a studio. A wheeled roulette which is used on hard ground which it is said can aid in making an aquatint effect. Next, applying liquid ground with a cheap paintbrush; the hard groundcan also be bought solid then melted onto the plate by heating the metal. In the following image we see a needle scratching into the wax with an etching needle to reveal the metal underneath; the bottom half is the image pencilled on tracing paper; the outline has been transferred onto the hard ground wax. In this case it is the Flute player (Lithuania).
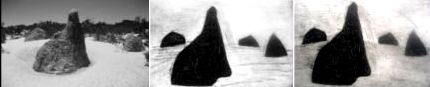
These two etchings of the Pinnacles rock formation in the first photo are only ‘sketches’ but nevertheless what we see here is the same subject matter but each with a different ‘look’ due to the approach used; there is also an interest in looking at how positive and negative space works.; in the second etching I exposed the bottom half of the plate in the acid (the rest of it including the rocks were covered in hard ground) to create some depth-of-field with the resulting tonal ground; I could now burnish this back (rubbing the plate with a flat tungsten needle) to make it light again or put it in the acid for a longer period to make it darker. Thus what is on display here is the ‘fluidity’ of the metal. Also I notice that if I expose the plate to ferric chloride rather than to nitric acid a somewhat ‘softer’ black is achieved. One can play around with a plate to try and obtain different effects until a satisfactory ‘polished’result is achieved so as to be used on later plates. I hope I have helped to partly demystify the etching process.
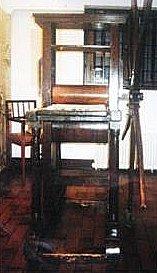
Rembrandt's etching press - Rembrandt was a true master of the art form.
___________________________________________________________________________________
'The greatest skill applicable to etching is patience.'
___________________________________________________________________________________
Archive
The following information is from a catalogue that I originally put together before establishing this website. Some information on this page and in other pages is repeated here but there are also a few fresh observations.
I hope with the above information especially I have helped to demystify some aspects of the etching process so the viewer may obtain a more informed visual appreciation of a printed image.
I make special mention of Pamela Griffiths who introduced me to etching at Sydney Teachers' College and which White Ox is my first original etching and to Pia Larsens whose printmaking evening classes I attended at Willoughby Arts Centre where I produced a tonal aquatint scene of Lights over Mt Sinai and Looking Into the Future. The printmaker Liz Land must also receive mention for encouraging me to pursue a practical interest in etching.
___________________________________________________________________________________
Pamela Griffith's website URL:
http://www.pamelagriffith.com/component/option,com_zoom/Itemid,40/catid,8/
___________________________________________________________________________________
Some people [at the Apostrophes' Cafe exhibition] noted the etchings were also sorted according to T-shirt sizes. There was XL, L, M & S; the larger the size the higher the price. Thus a large print like Kite flying. Sydney Park. St. Peters was XL, Nicaraguan Boy was a typical L, Ulysses & the Sirens at Bronte was a typical M and a smaller image like Guatemalan Couple was a S. I should also add here that I do not readily produce editions i.e that is when a printmaker makes only a run of say 20 prints and then never make anymore. (the number is arbitrary but the more prints so the incremental lowering of quality as the plate wears down but it usually has to be a large number of prints before there is any noticeable change; so a print may be marked 1/2o which means it is the first print in the print run versus 18/2o which is to say the image was produced at the end of the print run). However, if there is no edition an artist often marks on underneath the print A/P. This means Artist’s Proof. This is what I often do as to denote that the print is not part of an edition so in the meanwhile can do an unlimited print run. A/P prints are usually done as precursors to an edition. Thus by not numbering my works and just writing A/P I perceive each print as an individual ‘one-off.’ There is also the practice of ‘print cancellation.’ This means that the plate is scored with an etching needle so being scratched through there is no way any further prints can be done. Thus it can be argued that the market value of the available prints will stay or rise depending on availability and uniqueness of the prints; In some ways I consider the plate to be the true work of art and the print a ‘reflection’ of it. Thus, I do not approve of ‘print cancellation’. Often prints detiorate naturally over time. In this catalogue there are quite a few prints that cannot be reproduced due to plates being lost or damaged. There are a few prints in this catalogue where there is only one copy left with no chance of reproduction. White Ox and Looking into the Future from the early period of my art are two such prints; the former was produced by me in 1981 – while I was a student at Sydney Teachers College under the instruction of Pamela Griffiths; and the latter image was produced ‘sometime’ in the early nineties when I was doing a brief evening course in printmaking at Willoughby Arts Centre under the instruction of the printmaker Pia Larsens. Liz Land also taught printmaking at the same establishment.
________________________________________________________________________________________________________
Other basic information can be found on such universal websites such as wikipedia and youtube if you type in words such as drypoint, printmaking, etching etc
________________________________________________________________________________________________________